


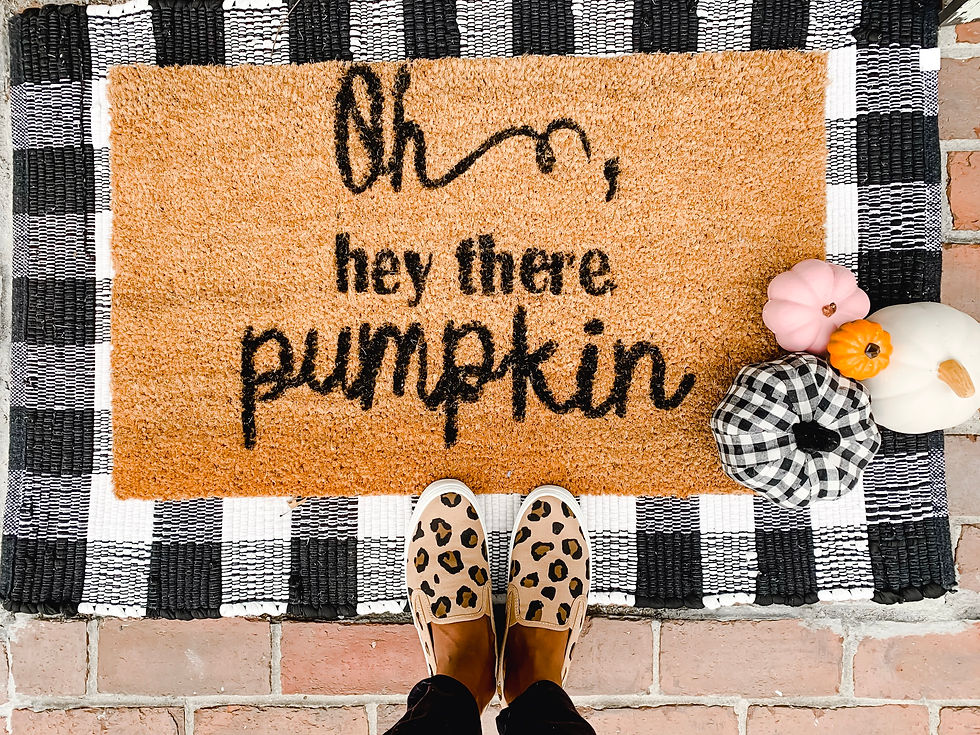
Oh, hey there pumpkin! DIY Fall outdoor mat tutorial
- Sep 8, 2019
- 3 min read
I have to start off by saying that Fall is my absolute favorite season! Like I live for Fall! And a funny fact is that even though I was not born in the Fall, my parents were going to name me Autumn, how fitting would that have been?! (Just in case you're wondering how they settled on Kara, my grandmother's name was Caroline and it's a play off of her name.)
So, back to what I was saying about Fall, it's my fave, and I love everything about it! Crisp air, turning leaves, over sized sweaters and boots, cuddling up with cozy blankets and movies, lattes, apple and pumpkin everythangggg!! I especially love to decorate for Fall (besides Christmas, it's my favorite thing to decorate for!) I decorate quite a bit inside and outside I usually just have some pumpkins on the steps but I've been dying to try to make my own outdoor mat and thought what other time would be more perfect than Fall to do it?!

So, I bought a plain coil mat from Ocean State Job Lot, it was $7 which is pretty inexpensive but I've heard that Ikea also has these rugs for only $5! You can't beat that! You can find them here and I used a fabric paint since it's water resistant which I got it from Walmart for under $2. I loved the saying "Hey Pumpkin" or Hey there Pumpkin" and I've seen them floating around on Instagram, Pinterest, and even in some stores, but I wanted it to be a little different. So I added the word "Oh" like "Oh, hey," so "Oh, hey there pumpkin" it was!
So the materials you'll need are:
1. Coil mat
2. Fabric paint
3. Tape (Painter's tape probably works better but I didn't have any so I used shipping tape.)
4. Foam brush
5. Cardstock paper or letter stencils
6. Cutting machine (if you don't have one look below for your other options)
7. Gloves
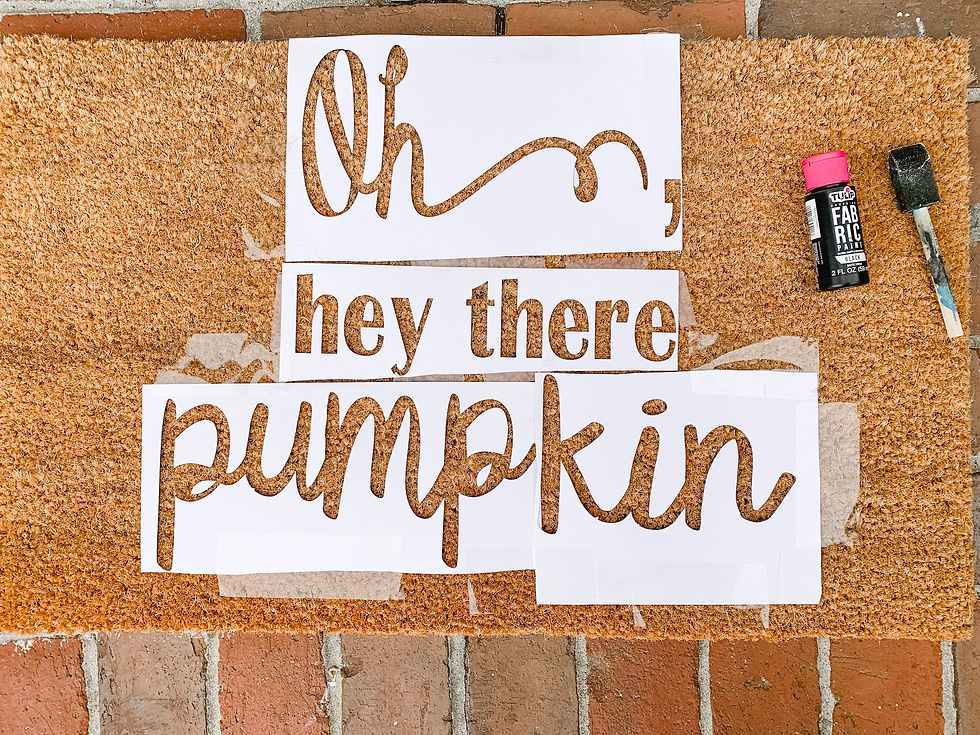
After you have your phrase in mind, you need to create a stencil with the cardstock paper and a cutting machine like a Cricut or Silhouette. If you do not have one of these don't worry, you can freehand or use a stencil! Stencils can be found at any craft store, Walmart, or on Amazon. I used my Cricut to create this design.

You want to weed the words out of the cardstock paper and use the background the words came out of. If you have O's and E's you will have to put the little pieces that were cut out of the letters onto the mat with the rest of your stencil. Now you will need to position and tape the stencil onto your mat. I used shipping tape that didn't stick too well to the mat but I was too impatient to go out and get painters tape which would've worked much better so I just had to hold it down a little more with my fingers. Only tape the outside edges of the stencil, you don't want any tape where the letters are cut out. Also you shouldn't tape the little pieces that go inside of O's and E's, just hold them down with your fingers otherwise the tape will block where the paint should go. If you are using plastic stencils that you bought, just follow the same guidelines.
Now you are ready to paint! I used an old foam brush I already had but I think for this project a round, flat bottomed foam brush would work much better as you want to dab the paint on to get all the fibers. (The bottom of my foam brush ended up breaking off little by little but I still made it work lol.) I honestly thought that my paint was bleeding and my letters would come out messy but when I peeled the stencil off it was pretty much perfect! You don't want to leave the stencil on though because the paint could bleed. You do want to let the mat dry inside overnight (just in case of wet weather). After that you should be good to go! Now you have a brand new welcome mat to greet all of your guests! I plan on making many more!

If you make one, tag me on Insta @mrscofieldandco (Or you can click the little logo at the top of the page) I'd love to see! Happy Fall Y'all!
XO,

Comments